
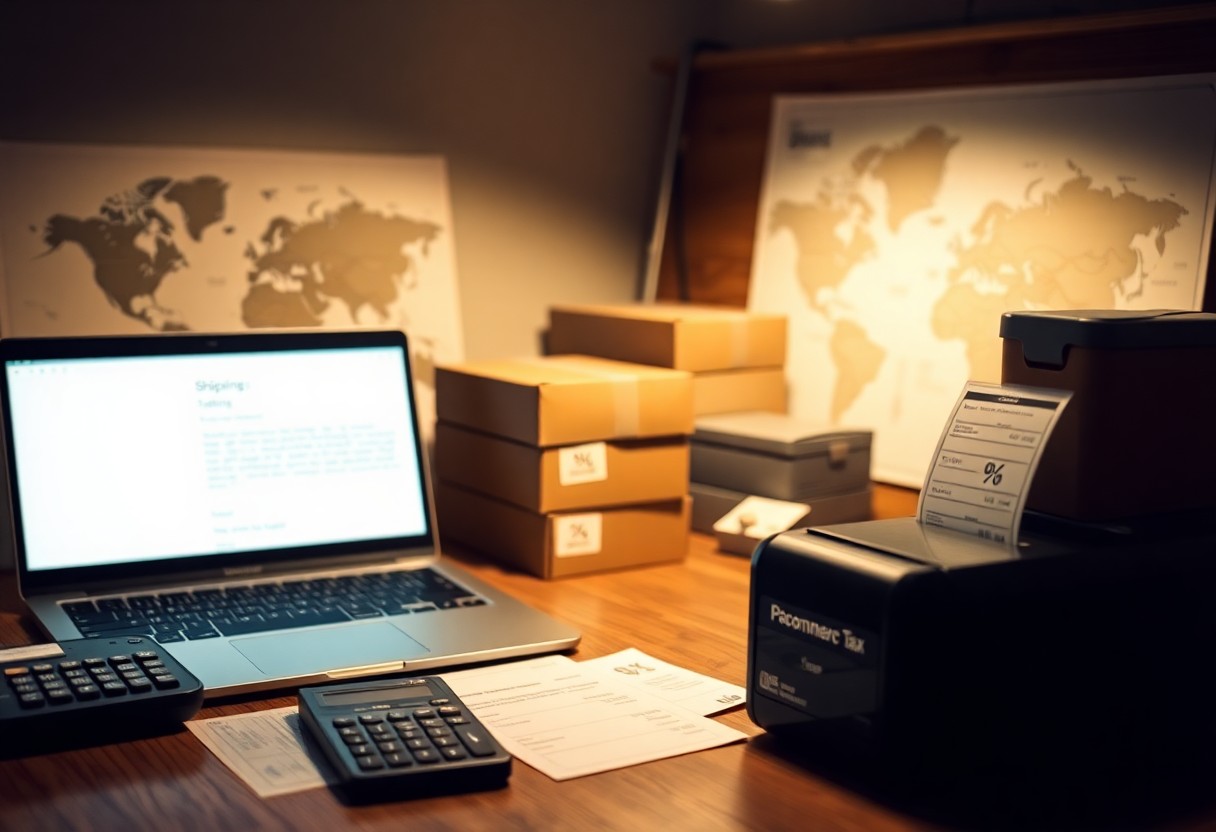
Set WooCommerce Shipping — how to Set Up WooCommerce Shipping and Tax Rules (For Any Location) is one of the most important topics for WordPress site owners. Read on to learn how it works and what practical steps you can take today.
Most store owners overlook complex rules; you will set shipping zones, rates, and tax classes in WooCommerce to avoid penalties, ensure legal compliance, and unlock accurate global checkout, while preventing costly tax errors.
Key Takeaways:
- Set your Store Address, Selling Locations, and Shipping Origin in WooCommerce > Settings so tax calculations and shipping defaults align with where you sell and ship.
- Create Shipping Zones for each geographic area, assign methods (Flat Rate, Free Shipping, Local Pickup), use shipping classes or product dimensions for per-item charges, and add a carrier-rate plugin for live rates.
- Enable Taxes, define tax classes and rates per jurisdiction and per product class, use automated tax services or plugins to keep rates current, and test checkout with addresses from each tax/shipping zone.
Set WooCommerce Shipping: Key Factors to Consider Before Configuring Rules
Assess your WooCommerce settings, customer locations, and product mix before changing rules, because misconfigured tax or shipping settings can cause lost sales or penalties.
- WooCommerce
- shipping rules
- tax rules
- tax nexus
- carrier integration
- product dimensions
Understanding Local vs. International Tax Nexus
Check whether your sales, inventory locations, or marketplace activity create a tax nexus in other jurisdictions, since thresholds and obligations differ and failure to register can lead to audits.
Evaluating Shipping Carrier Integration Requirements
Compare required carrier credentials, supported regions, and live-rate APIs to ensure your store can fetch accurate rates and print labels without manual intervention.
Plan for account limits, pickup options, and surcharge rules so your shipping rules reflect true carrier charges and protect margins from unexpected costs.
Test integrations in a sandbox, verify dimensional pricing and service transit times, and confirm that carrier API responses match checkout calculations before enabling live rates.
Determining Product Dimensions and Weight Categories
Account for actual weight, packed dimensions, and any dimensional weight billing to avoid undercharging or refused shipments when carriers audit packages.
Prepare SKU-level defaults and rules for bundles, oversized items, and hazardous goods so checkout logic applies correct shipping classes and surcharges.
Measure a representative sample of packaged items, store dimensions in product fields, and use accurate measurements to keep customer expectations and costs aligned.
Recognizing the interplay between tax nexus, carrier rules, and product metrics will prevent costly mistakes and simplify long-term rule management.
How to Create and Manage WooCommerce Shipping Zones
Defining Geographic Boundaries for Shipping
Open WooCommerce > Settings > Shipping and click Add Shipping Zone; name the zone and select the relevant countries or states so you limit service to intended areas. Assigning the correct countries or states prevents misrouted orders and unexpected fees.
Assign shipping methods and set rates per zone so you control costs per region, and add shipping classes if needed to handle product-specific rules. Testing rates with sample addresses helps you confirm coverage.
Adding Specific Postcodes or Regions
Enter postcodes or postcode ranges in the zone location field using commas and hyphens, and include wildcards like “SW*” for partial matches so you capture groups quickly; you can also list counties or provinces when supported. Using precise postcodes reduces failed deliveries.
Use region lists for territories that group areas differently and split zones when shipping costs differ sharply between nearby areas to reflect real carrier pricing; this helps you set fair rates. Splitting zones can save you money.
Test several checkout addresses that match and fall outside your postcode rules so you spot gaps; if an order maps to the wrong zone, refine patterns or add exclusions. Testing protects you from pricing errors at checkout.
Managing Zone Priority for Overlapping Locations
Order zones so the most specific areas come first because WooCommerce checks zones in sequence and stops at the first match, meaning placement directly affects which rate applies. Incorrect ordering can cause wrong rates.
If two zones overlap, create a narrower, higher-priority zone for the area you want to control and place it above the broader zone, or add postcode exclusions to prevent conflicts. Clear rules avoid accidental charges.
Confirm priority by testing addresses from overlapping regions during checkout and adjust zone placement until the expected rate and method appear; this ensures you don’t lose sales to unexpected fees. Confirming avoids lost sales from unexpected fees.
Final Words
You configure shipping zones, methods, and classes in WooCommerce, set flat or calculated rates per zone, and connect carriers or third-party services to reflect any location’s rules.
You enable tax calculations or integrate a tax service, test checkout scenarios, and update rules regularly so rates stay compliant and customers receive accurate charges.
FAQ
Q: How do I configure shipping zones and methods in WooCommerce for any customer location?
A: Go to WooCommerce > Settings > General and set your Store Address and Default Customer Location (use Geolocate with page caching support if you want automatic detection). Open WooCommerce > Settings > Shipping and create Shipping Zones for each region you serve; assign countries, states, or postcode patterns to each zone so the most specific match applies. Add Shipping Methods to each zone (Flat rate, Free shipping, Local pickup) and configure rates; use Shipping Classes to group products with similar costs and apply class costs to Flat Rate methods. Install a Table Rate or advanced shipping plugin when you need weight-, price-, or quantity-based rules, multiple package handling, or carrier-based live rates (UPS/FedEx/USPS). Test by entering example addresses at checkout and adjust zone/postcode patterns until orders match the intended zone and method.
Q: What are the exact steps to set up tax rules for any country, state, or postcode in WooCommerce?
A: Enable taxes in WooCommerce > Settings > General by checking Enable taxes and tax calculations, then open the Tax tab that appears. Choose how taxes are calculated (based on customer shipping address, billing address, or store base) and whether product prices are entered inclusive or exclusive of tax. Create tax classes (Standard, Reduced rate, Zero rate) and click each class to add rate rows with Country code, State code, Postcode, City, Rate %, Tax name, Priority, Compound, and whether shipping is taxable. For automated rate updates or complex multi-jurisdiction compliance use services like TaxJar, Avalara, or Quaderno and connect them via their WooCommerce integration. For VAT handling add VAT ID capture/validation plugins and set tax-exempt rules for B2B customers where applicable, then test using addresses from target jurisdictions to confirm calculations.
Q: How do I combine shipping and tax rules across multiple locations and troubleshoot common problems?
A: Assign each product a Shipping Class and a Tax Class in the product settings so shipping and tax rules apply correctly per item; enable shipping tax in WooCommerce > Settings > Tax if shipping should be taxed. Use advanced shipping plugins for rate-by-origin, multi-origin stores, dimensional packing, or carrier live rates; map those outputs to your shipping zones and set fallbacks for unmatched addresses. Common issues include wrong store address, overlapping shipping zones, postcode pattern mistakes, tax calculation based on the wrong address type, and caching interfering with geolocation; verify store address, review zone specificity, clear caches, and confirm the tax calculation basis in settings. Run checkout tests with a variety of shipping and billing addresses, check order tax/shipping line items, and enable plugin debug logs or contact the plugin provider when a rule still fails.