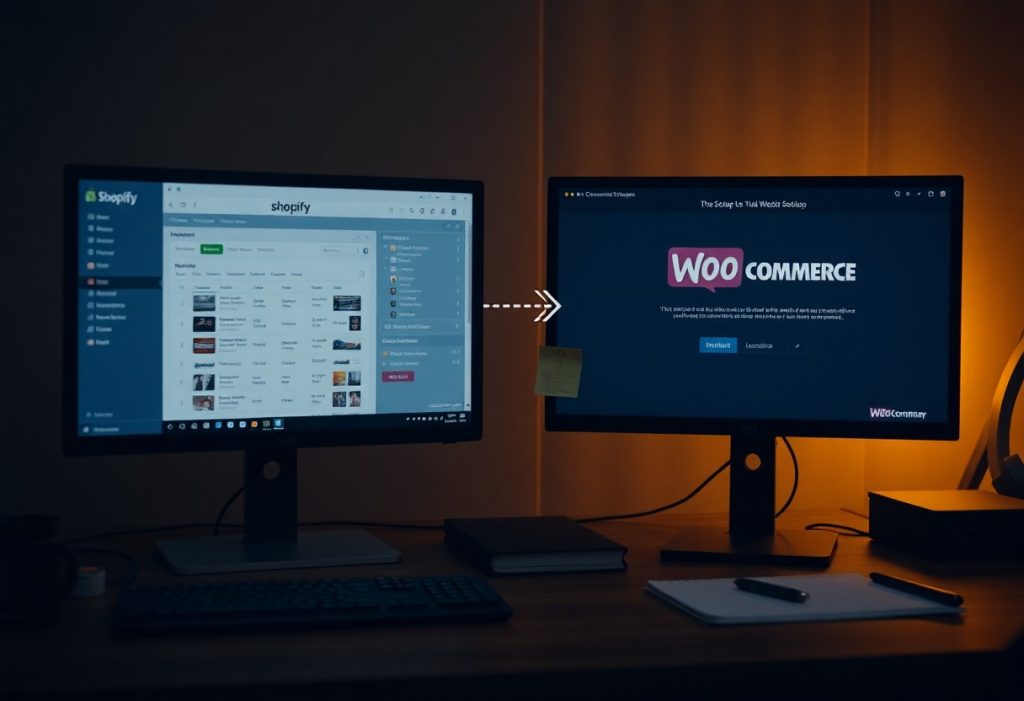
Migrate Shopify Another — how to Migrate from Shopify (or Another Platform) to WooCommerce Step-by-Step is one of the most important topics for WordPress site owners. Read on to learn how it works and what practical steps you can take today.
You should plan a careful migration to WooCommerce, starting with a full backup to avoid irreversible data loss, map products and redirects, and test staging; after cutover expect full ownership and lower fees.
Key Takeaways:
- Map and export data: inventory, variants, customers, orders, and SEO URLs; create CSVs and a full backup of the source store.
- Prepare WooCommerce environment: choose hosting, install WordPress and WooCommerce, enable SSL, configure payments, shipping, taxes, permalinks, and select a compatible theme.
- Migrate, test, and launch: import data, set up 301 redirects from old URLs, run checkout and mobile QA, resolve issues, update DNS, and monitor transactions and analytics after launch.
Migrate Shopify Another: Critical Factors to Consider Before Switching Platforms
Before you switch, list priorities like uptime, SEO retention, and integrations to prevent downtime or data loss and ensure WooCommerce can meet performance and feature needs.
- Hosting capacity and server performance
- Products, customers, and order history integrity
- Third-party apps and integration parity
- URL redirects and SEO preservation
- Backup, rollback, and testing plans
Evaluating hosting requirements and server performance
Hosting should match your peak traffic and plugin load, so you must test response times and PHP/DB limits and verify that your provider supports WooCommerce scaling to avoid slowdowns.
Auditing existing data: products, customers, and order history
Audit every SKU, variant, image, and custom field to confirm exports include products and customers data in usable formats and to spot duplicates or missing meta that cause import failures.
Check order exports for consistent IDs, statuses, and timestamps so your order history remains accurate and reporting continuity is preserved after migration.
Confirm you have verifiable backups and a mapped field list (SKU→SKU, email→email) and plan for manual fixes where automated mapping can’t handle custom attributes.
Assessing third-party app compatibility and functional alternatives
Review each integration to see if a WooCommerce plugin or alternate workflow exists and note any features that will require custom development or different processes.
Map critical app functions to available plugins or API work so you can replace or rebuild features without unexpected business interruption and highlight any single-point-of-failure services.
Any migration should include a staged test of replacement apps, focused on payment, shipping, and subscription continuity.
How to Prepare Your WordPress and WooCommerce Environment
Selecting a performance-optimized WooCommerce hosting provider
Choose a host that offers PHP 8+, fast SSD storage, dedicated resources, and automatic daily backups so your store handles traffic spikes. You should prefer hosts with built-in caching, a CDN option, and staging environments to test migrations without downtime. Avoid extremely cheap shared plans that can cause slowdowns and outages during sales.
Installing WordPress and the WooCommerce plugin
Install WordPress using your host’s one-click installer or upload it manually, then create a secure admin user and enable HTTPS with an SSL certificate. After that, add the WooCommerce plugin from the repository and follow the guided setup to configure currency, shipping zones, and payment methods.
Complete plugin and PHP version checks before importing products; confirm you have adequate PHP memory (256MB+), mod_rewrite enabled, and a recent MySQL/MariaDB version. You should also set up a temporary maintenance page to protect customers while you migrate.
Verify file permissions and secure wp-config.php, and install a staging copy to run the full migration without affecting the live site; never run imports on the production store until the staging import is validated.
Configuring basic store settings and permalink structures
Configure general WooCommerce settings: store address, currency, tax behavior, and shipping defaults to match your previous platform so prices and checkout work as expected. Enable SSL for checkout pages and add a payment gateway test mode to validate transactions.
Set permalink structures to use readable product and category slugs for SEO; choose the product base to match your old URLs if possible to reduce redirect work. Create a redirect plan for any URL changes to preserve rankings and customer links.
Check tax classes, shipping methods, and email templates in a staging environment and run a few test orders; incorrect taxes or shipping rules are common sources of lost orders and refunds if left unchecked.
Step-by-Step Guide to Executing the Data Transfer
| Step | Action |
|---|---|
| Exporting data | Export CSV/XML for products, customers, and orders; keep full backups |
| Mapping & Import | Map source fields to WooCommerce, test imports, and convert custom fields |
| Verifying | Check descriptions, images, variations, and run test checkouts |
Exporting data from Shopify or your current platform
Export full product, customer, and order data using Shopify’s CSV/XML exports or your platform’s equivalent so you have a local copy and an offsite backup.
Confirm that variant rows include image URLs, SKUs, and price fields so you can spot any missing fields before import.
Mapping database fields and importing data into WooCommerce
Map your source columns to WooCommerce fields in a spreadsheet or the importer UI so you can align SKUs, prices, and tax classes correctly.
Use a reliable plugin or the native importer and run a small sample so you can validate mappings and catch format or encoding issues early.
Check imported records for duplicate SKUs, broken links, and encoding errors, and perform a test checkout so you confirm orders process as expected.
Verifying product descriptions, images, and attribute variations
Verify that product descriptions retained formatting, images load from the correct paths, and attribute variations are attached to the right parent products so you avoid display errors.
Inspect thumbnails, gallery order, and SKU-linked variants for missing photos or swapped attributes, correcting entries in the admin as you go.
Fix image URL issues by regenerating thumbnails or uploading media into WordPress, and standardize attribute names so you prevent front-end errors.
How to Protect Your SEO Rankings During the Transition
You should audit current URLs, export sitemaps, preserve title tags and meta descriptions, and keep the old site live until redirects are in place to avoid sudden traffic loss. Monitor Google Search Console and analytics daily to catch crawl errors and ranking drops so you can act quickly.
Implementing 301 redirects for legacy product and category URLs
Map every legacy URL to its closest new counterpart and implement server-level 301 redirects to pass equity; avoid redirect chains and temporary 302s that can cause ranking loss. Test redirects, update internal links and your XML sitemap, then resubmit to Search Console while watching for 404s.
Summing up
To wrap up, you should follow a clear migration checklist: back up your current store, export products/customers/orders, install and configure WooCommerce, import and map data, set up payments and shipping, test transactions and links, implement redirects and preserve SEO, and monitor performance after launch. You will reduce downtime and protect sales by testing carefully.
🔗 Further Reading & Resources
- Google Search Central — Official SEO Documentation
- W3C — World Wide Web Consortium Web Standards
- WooCommerce Blog — eCommerce for WordPress
- 🛒 Tailblazers — eCommerce Solutions
- 💼 MotoCoders on LinkedIn
- 📸 MotoCoders on Instagram
- ▶️ MotoCoders on YouTube
- 🖥️ Rebel IT — Outsourced IT Support
- ⚡ OctaneView — CRM & ERP Platform